How to Make a Home Studio for Food Photography
This post has been on my mind for a while. Creating a studio space in my apartment has been so comforting and enjoyable. Having your gear all in one place and knowing which windows illuminate your scenes perfectly every time - it’s amazing and has made me a better photographer.

I’m going to give you the reasons why you should create a home studio and how to set one up. I anticipate that there will be two types of visitors reading this - 1) those who are completely new to food photography and 2) those who are seasoned photographers that typically shoot outside of the home but are now needing to switch because of covid. *If you don’t fall into one of these categories and are just reading because you read all my posts, know that I appreciate you and you are welcome to stay as long as you like:)
By the end of this, I hope you will be inspired to make a home studio that makes your process much easier and a bit more fun!
Benefits of Having a Home Studio
You don’t have to worry about booking a space.
You can wear your pajamas.
You don’t need to transport tons of gear.
You are already familiar with the lighting, windows, and interiors.
You are not spreading covid.
Your kitchen is in the same place.
You are not on a time crunch.
I feel like I am forgetting something…Anyway, as you can tell, I am pro-home studio.

Putting Together Your Home Studio
First things first, you need to find the area you will actually shoot in. “But my kitchen has terrible natural light” - I hear this from many up-and-coming food photographers and bloggers. You should shoot wherever you have beautiful light and ample room. This seems like common sense, but I and many people get hung up on shooting where we cook. Take a tour of your home/apartment/condo during the day and see what areas have the light you are seeking (usually a large source of indirect light). When I lived with my sister - I used her guest bedroom as my studio space. Now, I either use my bedroom or living room. It might seem like a pain to move food to different parts of your house, but it’s a pain to find enough room and good light in most kitchens.
Let’s say you found the perfect area for your studio, what’s next? Clear out the area - you don’t want any unwanted shadows or colors in your photos. It’s ideal for food photography to have light-colored walls or at least neutral tones on the walls. Then, start planning how you will organize the space. You can’t just plop things down and expect beautiful photos (I’ve tried - it doesn’t work haha)!
In the beginning, I drew diagrams for my studio space and photography scenes. From my experience, you can set up your home studio in 2 main ways. 1) You can select one room for everything - your shooting area, supplies, gear, etc., or 2) you can select an area you will shoot in and store your gear and supplies in convenient locations around your house. Option 2 is great for small spaces or one-bedroom living situations.
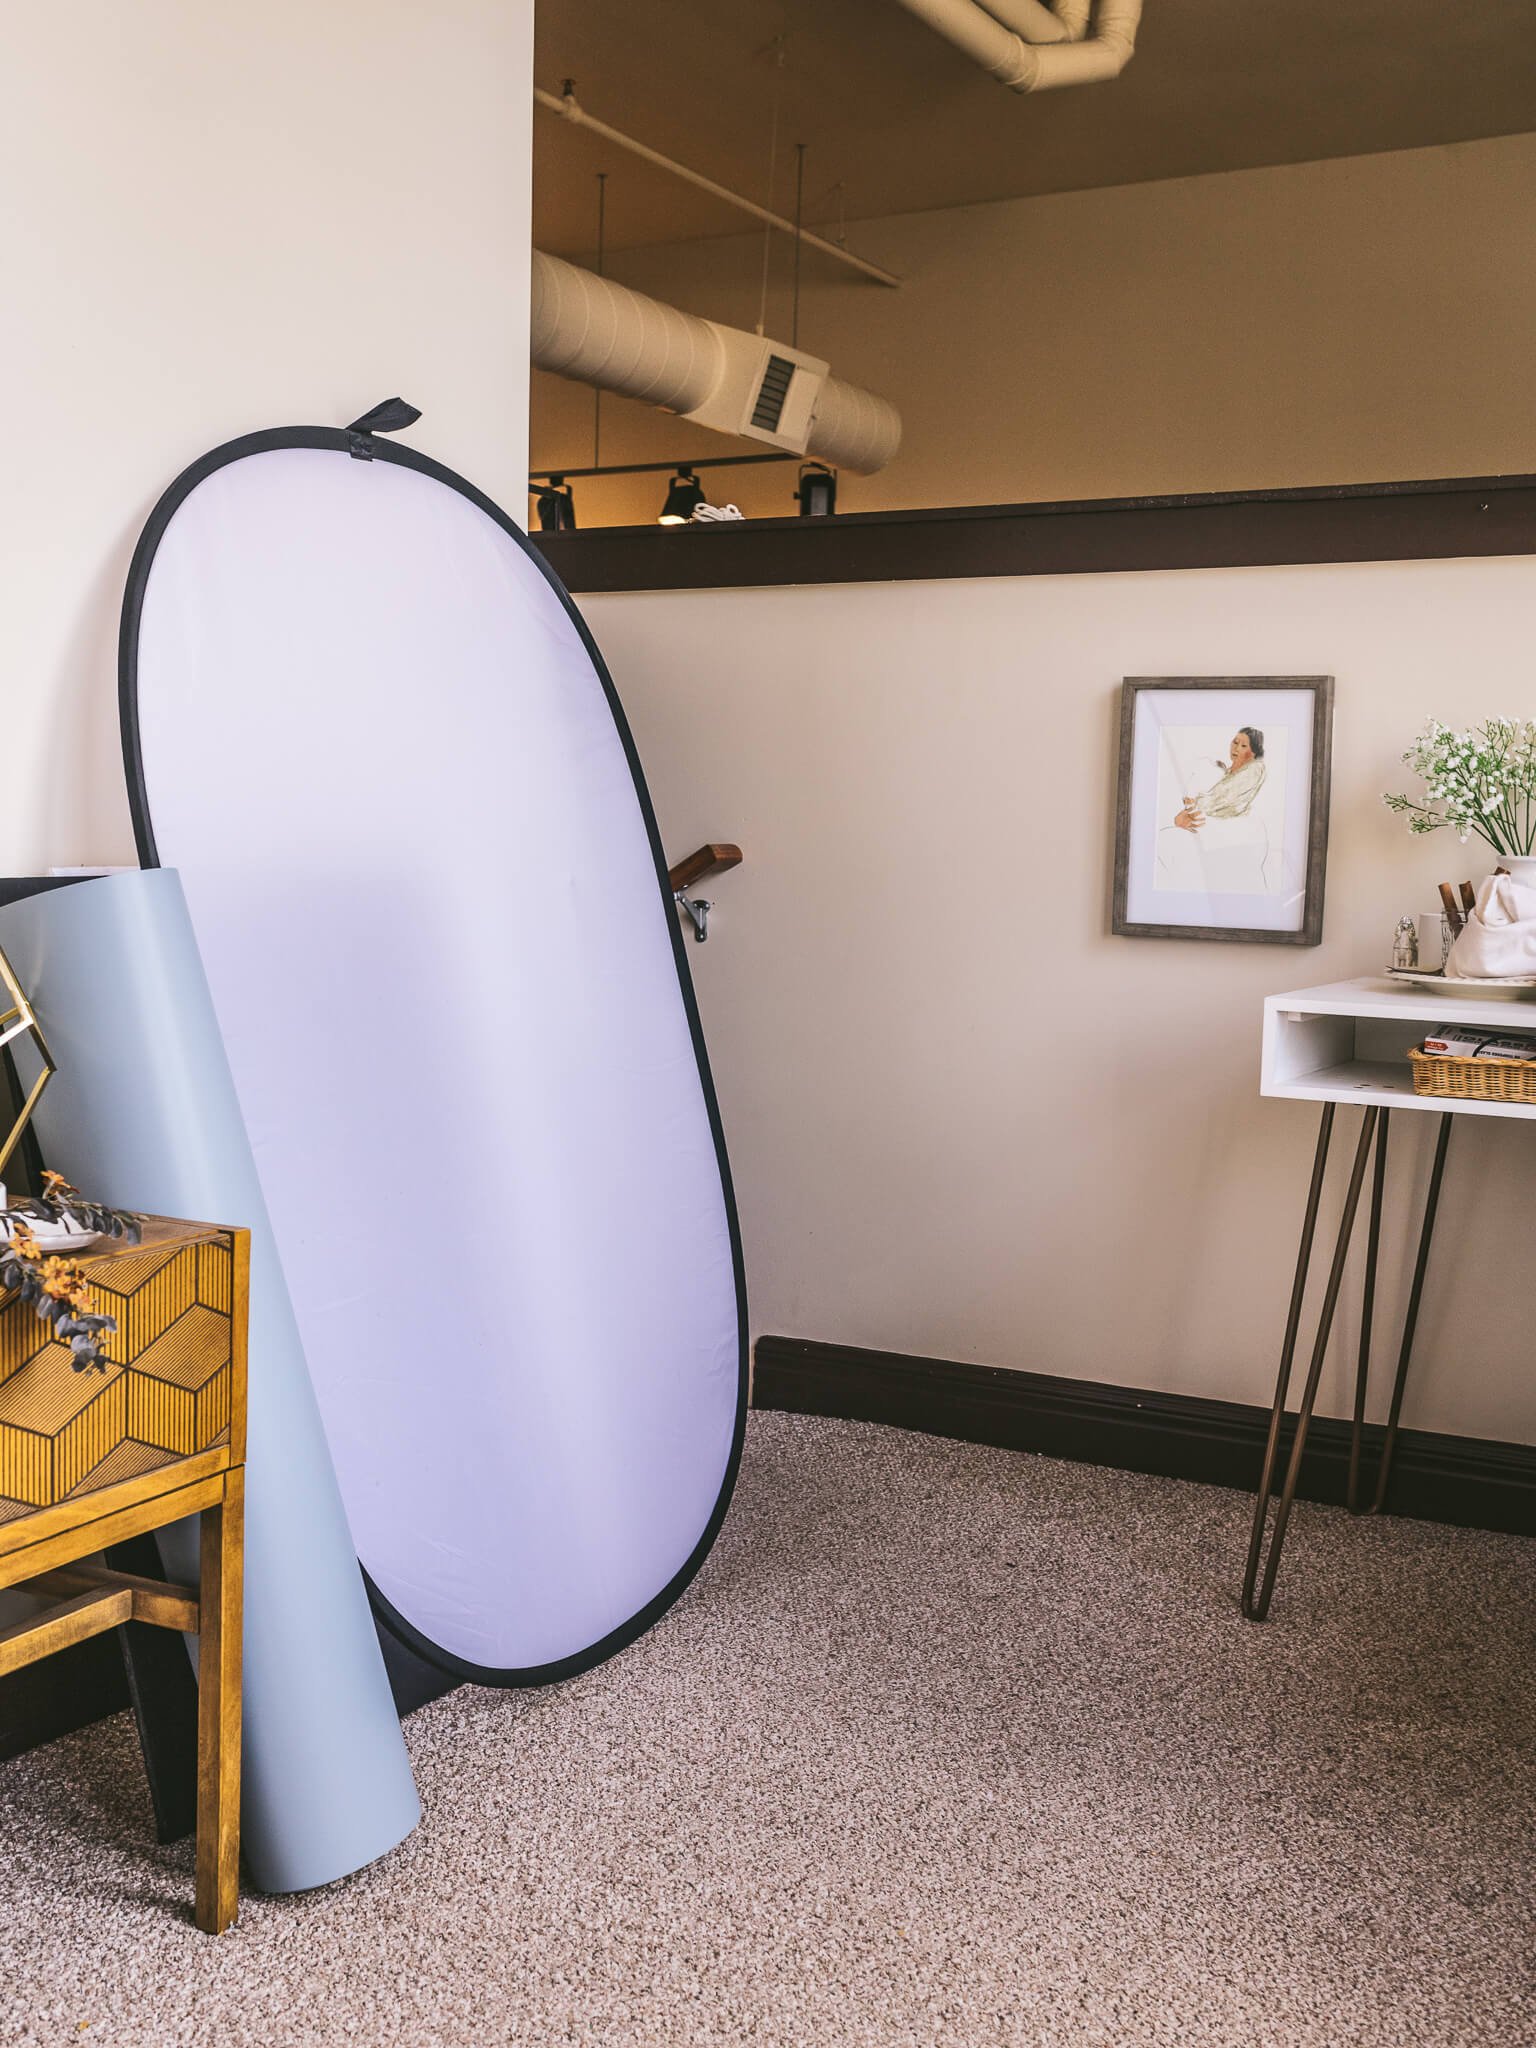

Helpful Items for Your Studio Space
Aside from your basic gear, it’s useful to have:
A table or desk. A desk is important not only for a workspace, but you can store your most-used tools/gear on a desk for quick access. Moreover, if positioned correctly by your light source - you can utilize the desk as a shooting surface and lay backdrops on the desk for a flat surface.
Cleaning supplies. There’s nothing worse than making a mess and then running through your home to try to find rags and cleaner. I often have paper towels and a spray bottle ready just in case I have spills, which happens often in food photography.
Non-electronic gear and supplies. I debated on including this because I thought it was obvious. Other than your regular camera gear, keep any frequently used styling, tethering, and/or lighting supplies.
Air Fresheners (optional). With food photography, things can get smelly. I’m sure you already know what I’m talking about. I like to have candles or reed diffusers just to make the space fresh.
Decorations (optional). For me, it’s motivating to have an attractive shooting area. I feel more inspired if I have decor that matches my style. This is optional just like having fragrances, but it makes the experience more delightful. I should note that I have pieces placed in a way that they won’t interfere with the photos or create unwanted shadows.
Okay, let’s recap. Home studios have numerous benefits. It’s imperative to select a space that already has good lighting and plenty of room for your gear/supplies. Lastly, I shared some tips for putting together the space. Thank you for reading. I hope this post has helped you in developing your home studio! Happy photo-taking!


